What Do You Call a Baby Crib in Australia?
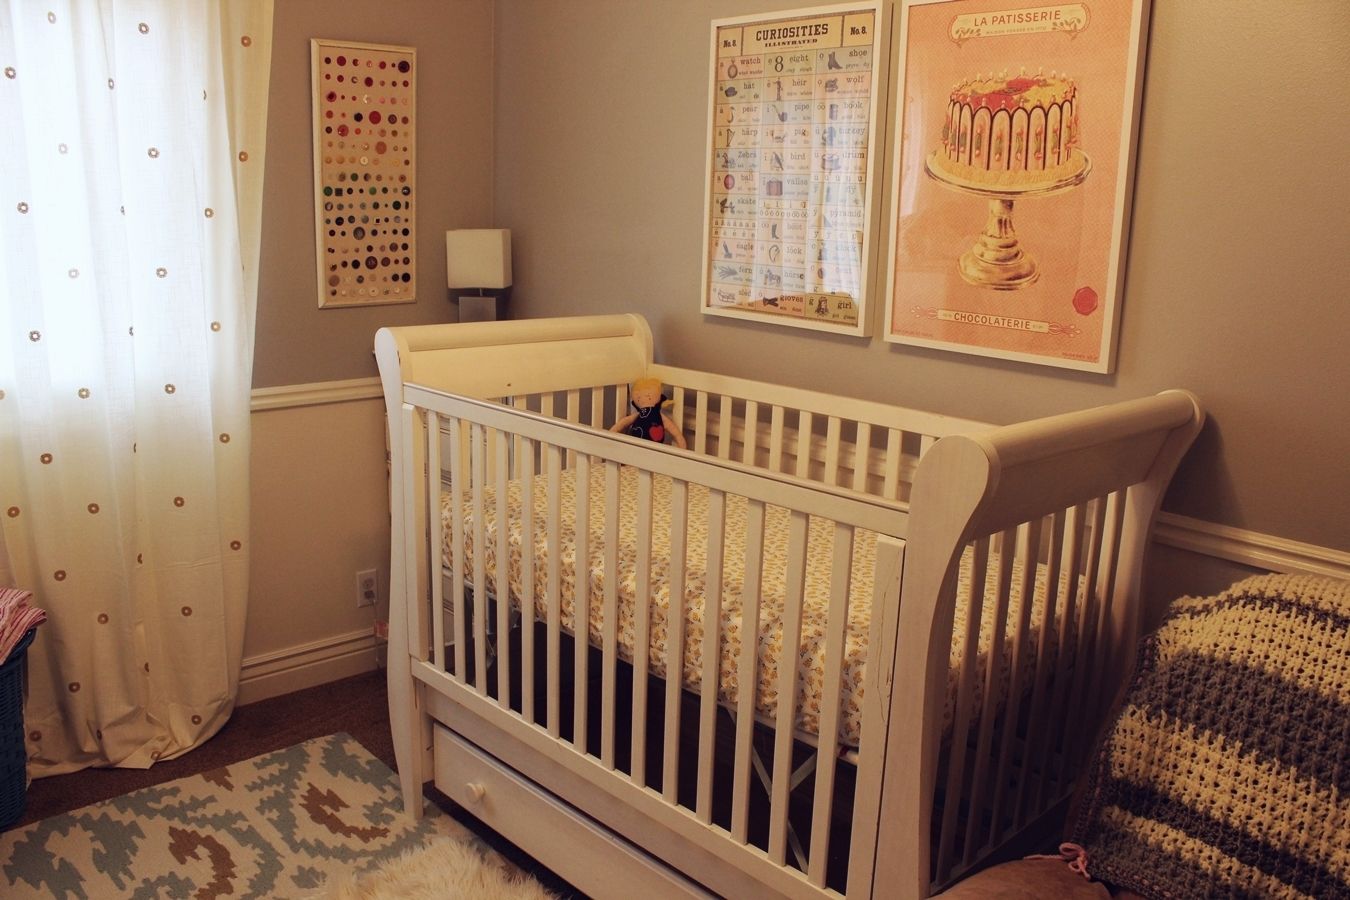
Crib sheets are a necessity when it comes to a successful nursery. And, as is the case with all things baby-related, yous'll need plenty of them.
 View in gallery
 If you're having a hard time finding crib sheets that match your nursery décor, or if you lot have excess material that you'd dear to use up, ane not bad option is to brand the crib sheets yourself. Information technology's a uncomplicated solution, really.
 View in gallery
 This tutorial will show you how to make your own crib sheets in two dissimilar ways: (ane) with French seams, and (ii) with standard corners. Once you acquire how piece of cake information technology is, you might never buy some other crib sheet again. (Bonus: This makes a great baby shower gift as well!)
DIY Level: Beginner
Materials You'll need For the Crib Sheets:
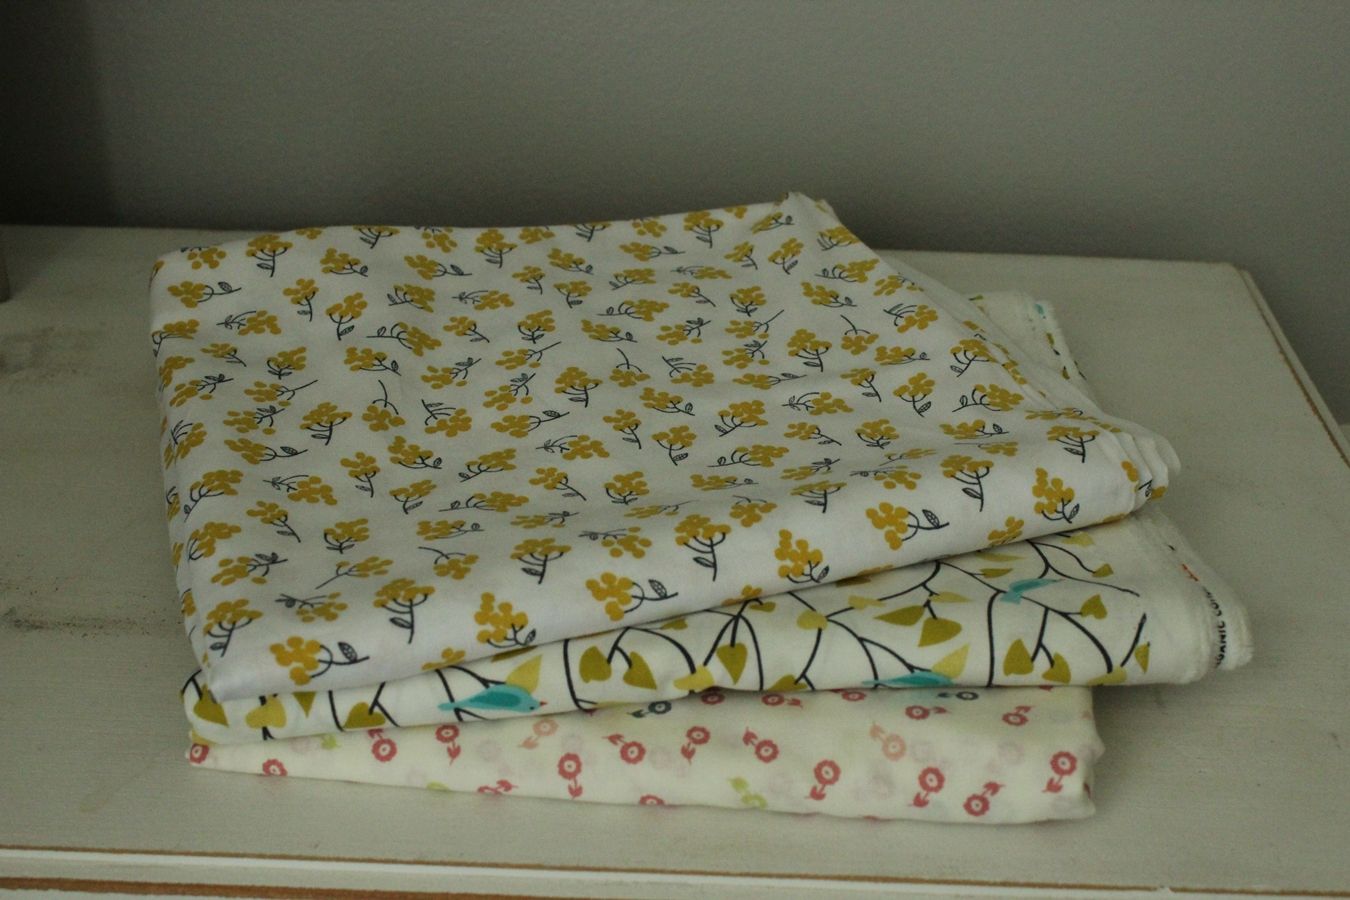
- two yards prewashed material of your choice (100% cotton recommended)
- lx" to 72" of 1/4″ rubberband
 View in gallery
 SEWING A CRIB Canvas WITH FRENCH SEAMS
 View in gallery
 French Seams Stride 1: Cutting fabric to size
Lay your prewashed textile out flat. If y'all chose 44"-45" broad material, you lot don't need to cut whatever off the width.
 View in gallery
 Measure 69" and cut straight beyond so yous terminate up with a piece of prewashed fabric that is 45" (or 44") x 69".
 View in gallery
 French Seams Footstep two: Cutting corners
Measure out 8" squares out of the corners of your textile. I used a articulate quilting guide, but considering my guide was only vi" wide, I had to supplement with my measuring tape for the terminal 2".
 View in gallery
 Cut the eight" squares out of all four corners.
 View in gallery
 Your fabric will await something like this when you've cut the corners out.
 View in gallery
 French Seams Step 3: Sew a corner seam, right sides out
With Right SIDES OUT, fold a cut corner over onto itself, then the ii raw edges you lot merely cutting line up together.
 View in gallery
 Yet with the Correct SIDES OUT, sew a 1/4" seam forth this cut edge.
 View in gallery
 Carefully trim one/8" off the freshly sewn edge.
 View in gallery
 I know it feels foreign and goes against every sewing instinct to sew with right sides out on this footstep, but trust me. The end result is so pretty.
 View in gallery
 French Seams Stride iv: Sew the corner seam, incorrect sides out
Flip the fabric over so that the Incorrect SIDES ARE OUT. The seam will exist inside. Again, this may feel counterintuitive, but go with it. If your textile is stubborn at this indicate, experience gratis to printing the seam in place.
 View in gallery
 Still with WRONG SIDES OUT, sew a i/iv″ seam on the exterior of the commencement seam.
Related: Sewing Beginner? Start Out with a Small Sewing Machine
 View in gallery
 Your corner volition look something like this after your second seam. This is chosen a French seam – the raw edge is completely encased within the double seams. Isn't it pretty? All tidied upwards.
 View in gallery
 When you flip the fabric to be right-side out, your seam will look something like this.
French Seams Step 5: Sew together all corners
Repeat steps 3 and four on the other 3 corners of your crib sheet.
 View in gallery
 French Seams Step 6: Sew rubberband casing
Fold (and press, for greatest accuracy) the raw border of your sheet over 1/2″ all the way around.
 View in gallery
 Fold another one/ii″, so that the raw edge is completely within the casing.
 View in gallery
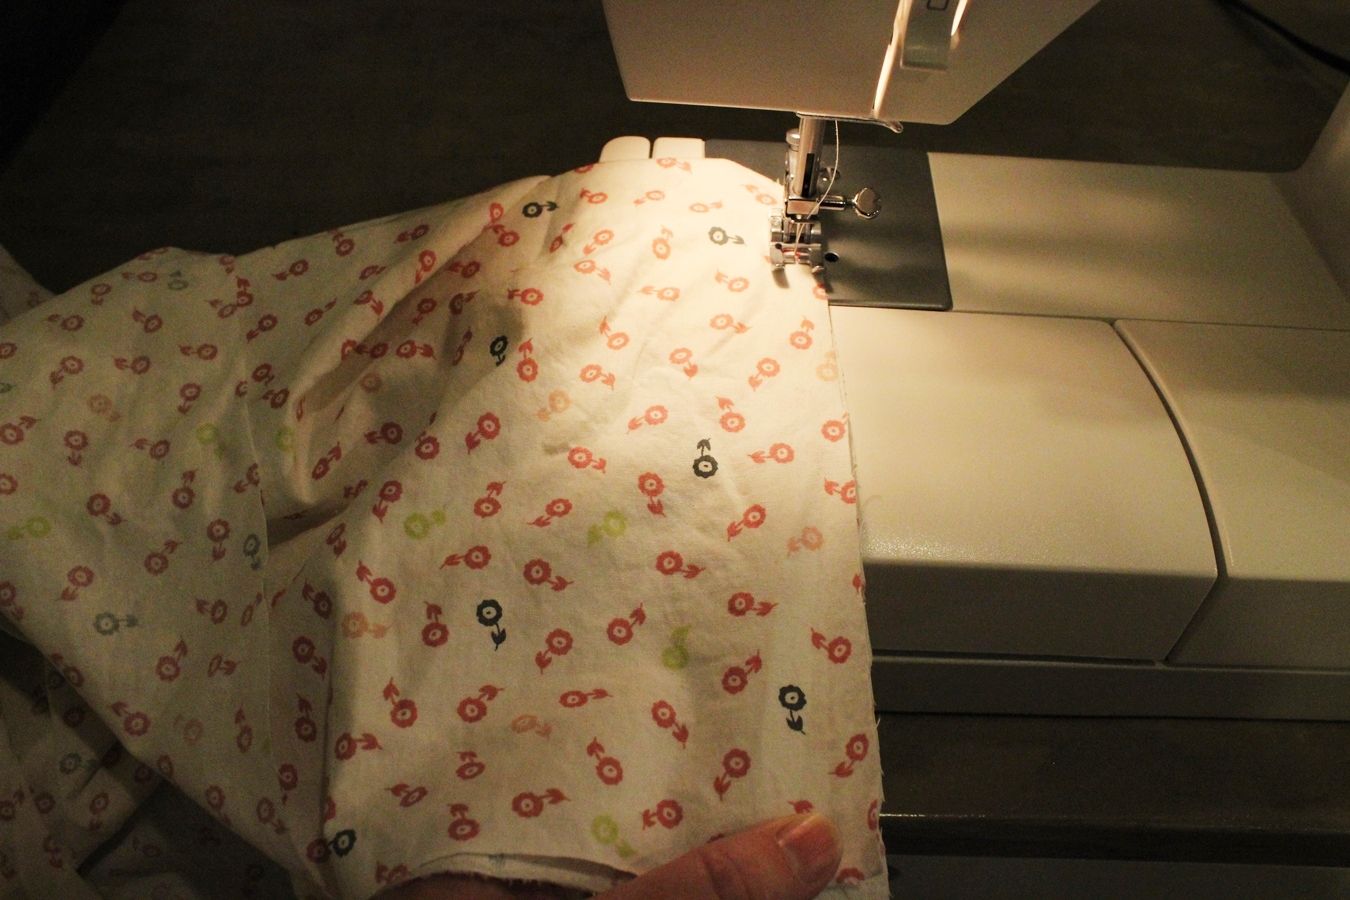
 Stitch as shut to the edge of this 2nd fold as possible, to shut up the casing, almost all the fashion around the crib sheet.
 View in gallery
 Get out 2"-iv" open on your casing seam. This is where the elastic volition go in and come up out.
 View in gallery
 French Seams Step seven: Add elastic
 View in gallery
 Cut 62" of 1/iv" rubberband.
 View in gallery
 Annotation: Others have suggested anywhere from threescore" to 72" of elastic length. I similar a snug crib sheet fit, and then I recommend 62"-65". It will exist snug to put the sail on your mattress with a 62" elastic length, but the corners will be safely taut and the sheet will fit perfectly on a standard sized crib mattress.
 View in gallery
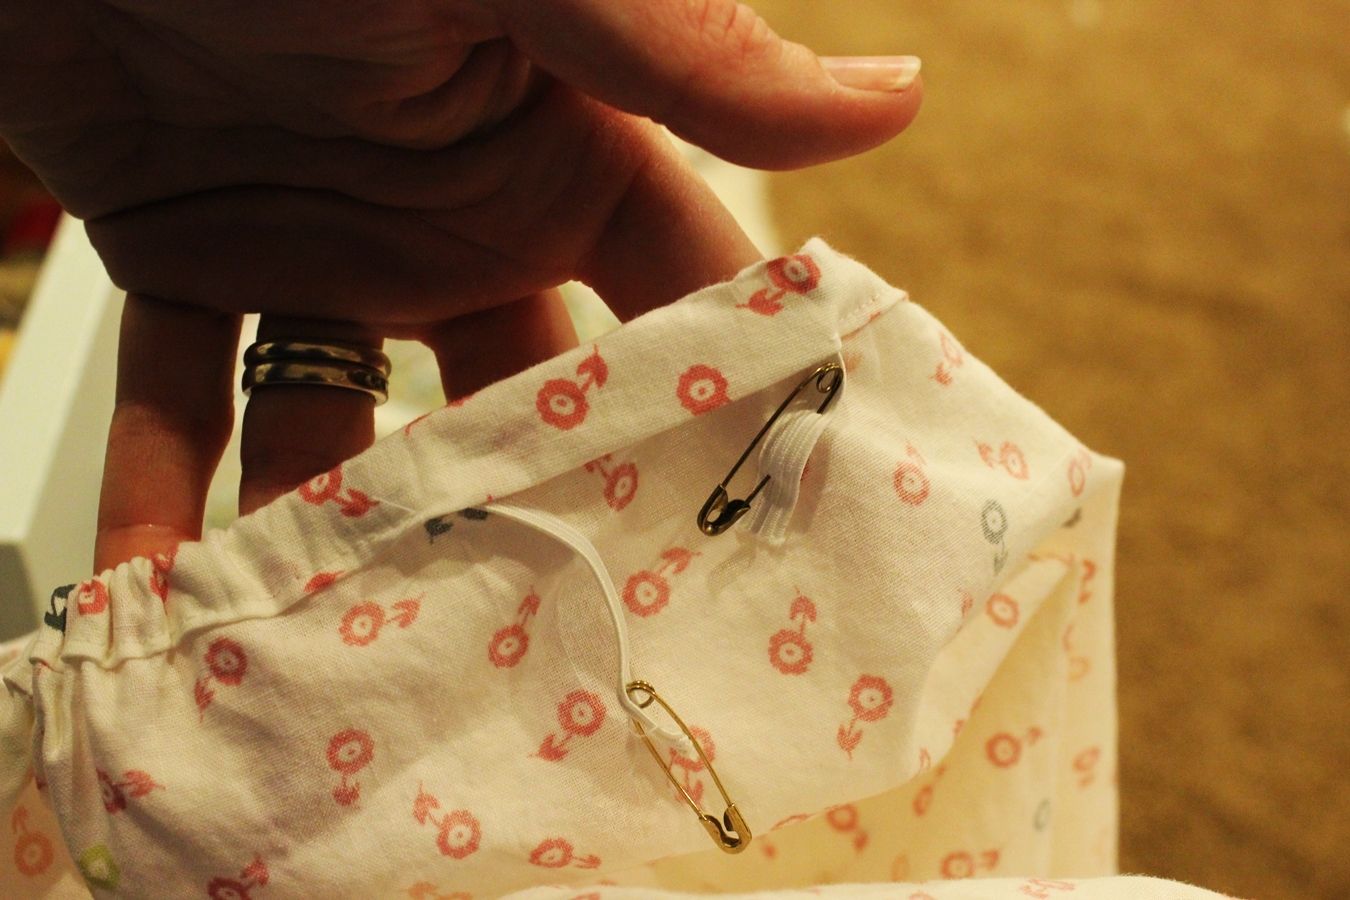
 Utilize a safety pin to attach one stop of the elastic to the fabric near the opening of the casing seam.
 View in gallery
 Attach a second prophylactic pivot to the other end of your elastic and begin threading it through the casing, all the way around. Y'all might feel a fleck of carpal tunnel. Just saying.
 View in gallery
 TIP: The bigger/longer your threaded rubber pin, the faster and easier this footstep is.
 View in gallery
 French Seams Step viii: Sew rubberband & end off casing
Overlap the ends of your rubberband by about 2".
 View in gallery
 Sew a zigzag run up on the overlapped rubberband, stretching both sections of the rubberband gently as y'all sew.
 View in gallery
 Pull elastic into casing, and then apply a straight run up over the opening to close it off.
 View in gallery
 Congratulations! You lot've merely created a lovely, customized French seam crib canvas. Isn't it pretty, inside AND out?!
 View in gallery
 SEWING A CRIB Canvas WITH "REGULAR" SEAMS
Start with a slice of prewashed fabric that is 69" 10 44" (or 45"). (See French Seams Step 1.)
 View in gallery
 Crib Sheet Step one: Cutting corners
Cutting 9" squares out of all four corners.
 View in gallery
 TIP: For a time-saving selection, carefully fold all four corners on top of each other and measure and cut the 9" square a single time.
 View in gallery
 Crib Canvass Step 2: Sew a corner
Starting in 1 corner, fold the two freshly cut ix" edges to line up with Incorrect SIDES OUT.
 View in gallery
 Run up a 1/4″ seam along this border.
 View in gallery
 Stitch a zigzag sew along the raw edge.
 View in gallery
 (Or, if you're lucky enough to have a Serger, practice this seam-and-finish in ane fell swoop.)
 View in gallery
 Crib Sheet Step 3: Run up other three corners
Repeat step ii for all other corners, so that all four corners are finished up earlier moving on.
 View in gallery
 Crib Sheet Step 4: Fold & sew together casing
Fold the raw border of the crib sheet's perimeter in ane/2″; press. Fold this end another 1/two″ in, then that the raw border is encased. Commencement at French Seams Step 6 and continue until your "regular" seam crib sail is consummate.
 View in gallery
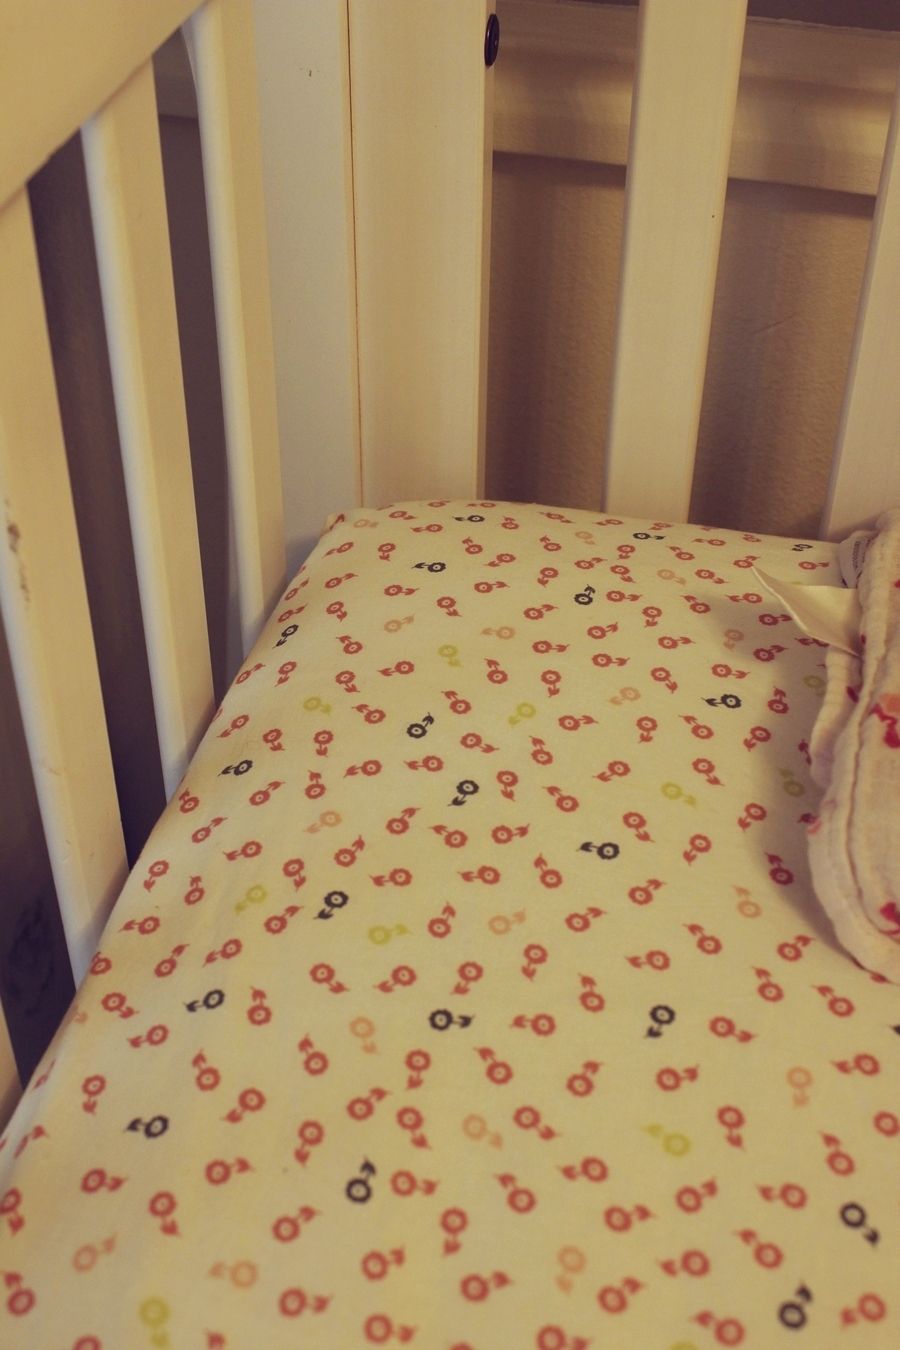
 Congratulations! You've just sewn a custom crib sail (or two) for a very lucky infant.
 View in gallery
  View in gallery
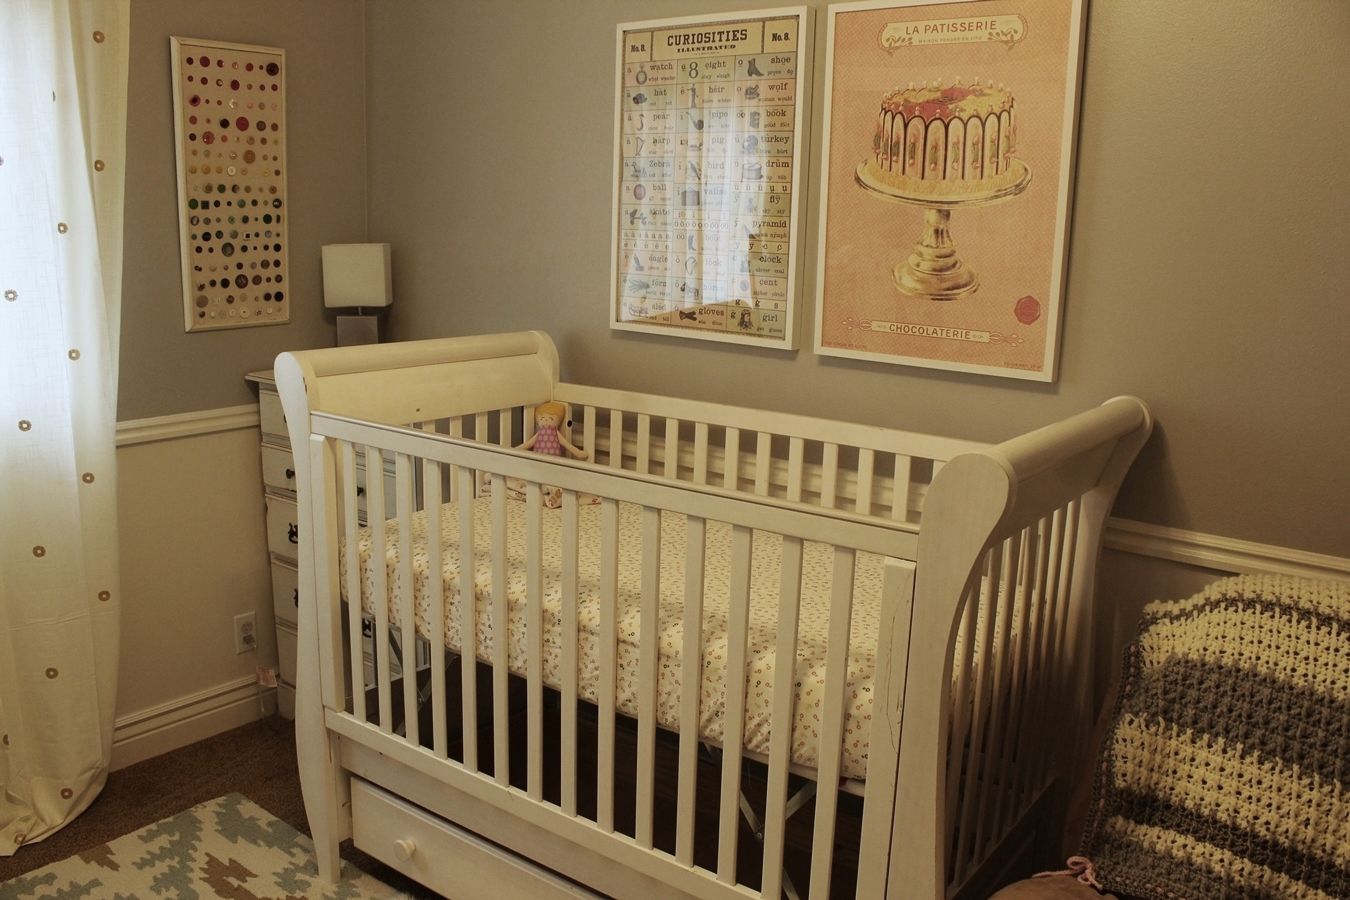
 We hope y'all've institute this tutorial helpful and that you're able to make crib sheets that will be safe for your baby as well as complement your plant nursery décor.
 View in gallery
 Source: https://www.homedit.com/how-to-make-a-crib-sheet/
0 Response to "What Do You Call a Baby Crib in Australia?"
Enregistrer un commentaire